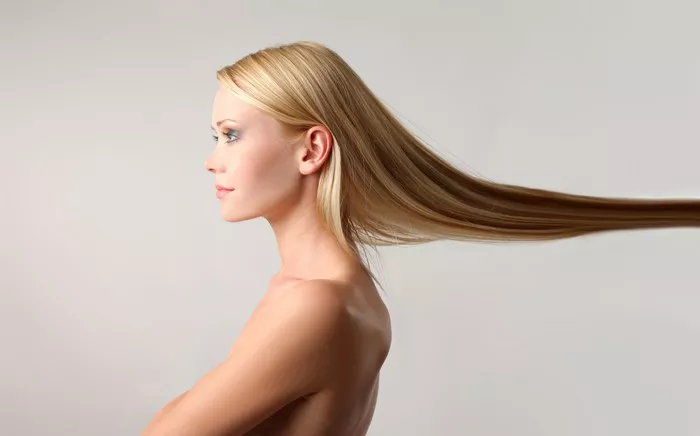
Bleaching your hair at home can be a cost-effective and convenient way to achieve a new look or lighten your locks. However, it’s crucial to approach the process with caution to avoid damaging your hair. From gathering the necessary supplies to executing the bleaching process safely, here’s everything you need to know to bleach your hair at home successfully.
Understanding the Bleaching Process
Before diving into the specifics of what you’ll need to bleach your hair at home, it’s essential to understand the bleaching process itself. Bleaching involves using chemical agents to strip the natural pigment from your hair, lightening it to a desired shade. This process can be harsh on your hair, so it’s crucial to take precautions to minimize damage.
When you bleach your hair, the chemicals in the bleach penetrate the hair shaft and break down the melanin, which gives your hair its color. This process opens the cuticle layer of the hair, making it more vulnerable to damage. Over-bleaching or improper application can lead to dryness, breakage, and even hair loss.
Before You Begin: Preparing for the Bleaching Process
Before you start bleaching your hair at home, it’s essential to gather all the necessary supplies and prepare your hair for the process. Here’s what you’ll need:
1. Bleach: Choose a high-quality bleach powder and developer. Opt for a bleach specifically formulated for home use, and follow the instructions carefully.
2. Developer: The developer, also known as peroxide, activates the bleach and determines how much lift you’ll achieve. Choose the appropriate volume of developer based on your hair’s current color and the level of lightness you want to achieve.
3. Gloves: Protect your hands from the harsh chemicals in bleach by wearing gloves throughout the bleaching process.
4. Mixing Bowl and Brush: Use a non-metallic mixing bowl and a tinting brush to mix the bleach and developer to the desired consistency.
5. Sectioning Clips: Sectioning clips will help you divide your hair into manageable sections for even application.
6. Protective Clothing: Wear old clothing or an apron to protect your skin and clothes from bleach stains.
7. Petroleum Jelly or Barrier Cream: Apply petroleum jelly or barrier cream along your hairline and on your ears to protect your skin from irritation.
8. Conditioning Treatment: Have a deep conditioning treatment on hand to nourish your hair after bleaching and restore moisture.
Executing the Bleaching Process Safely
Now that you’ve gathered all the necessary supplies, it’s time to start the bleaching process. Follow these steps to bleach your hair at home safely:
1. Patch Test: Before applying bleach to your entire head, perform a patch test on a small section of hair to check for any allergic reactions or sensitivity.
2. Protective Measures: Put on your gloves and protective clothing, and apply petroleum jelly or barrier cream along your hairline and ears.
3. Mixing the Bleach: Follow the instructions on the bleach and developer packaging to mix the products in the appropriate ratio. Use the tinting brush to mix the bleach and developer in the mixing bowl until smooth.
4. Sectioning Your Hair: Divide your hair into manageable sections using sectioning clips. Start with the bottom sections and work your way up to ensure even application.
5. Applying the Bleach: Starting at the roots, apply the bleach mixture to each section of hair using the tinting brush. Make sure to saturate the hair thoroughly, but avoid applying bleach directly to the scalp.
6. Processing Time: Monitor the bleach as it processes, checking the color every 5-10 minutes. The processing time will vary depending on your hair’s current color and the level of lightness you want to achieve.
7. Rinsing: Once your hair has reached the desired level of lightness, rinse it thoroughly with lukewarm water until the water runs clear. Follow up with a gentle shampoo to remove any remaining bleach residue.
8. Conditioning Treatment: Apply a deep conditioning treatment to your hair, focusing on the ends, to restore moisture and prevent damage.
Aftercare Tips for Bleached Hair
After bleaching your hair at home, it’s essential to take proper care of your newly lightened locks to maintain their health and vitality. Here are some aftercare tips to keep in mind:
1. Use a Sulfate-Free Shampoo: Opt for a sulfate-free shampoo to gently cleanse your bleached hair without stripping away moisture.
2. Deep Condition Regularly: Incorporate a deep conditioning treatment into your hair care routine at least once a week to keep your hair hydrated and nourished.
3. Limit Heat Styling: Minimize the use of heat styling tools such as blow dryers, straighteners, and curling irons, as they can further damage bleached hair.
4. Protect Your Hair from the Sun: Wear a hat or use a UV protectant spray when spending time in the sun to prevent bleached hair from becoming dry and brittle.
5. Trim Regularly: Schedule regular trims every 6-8 weeks to remove split ends and keep your hair looking healthy and vibrant.
Conclusion
Bleaching your hair at home can be a rewarding experience, but it’s essential to approach the process with caution and care. By gathering the necessary supplies, executing the bleaching process safely, and following proper aftercare techniques, you can achieve the desired results without causing damage to your hair. Remember to always patch test before bleaching, and if you’re unsure or inexperienced, consider consulting a professional hairstylist for guidance. With the right preparation and attention to detail, you can enjoy beautifully bleached hair from the comfort of your own home.


