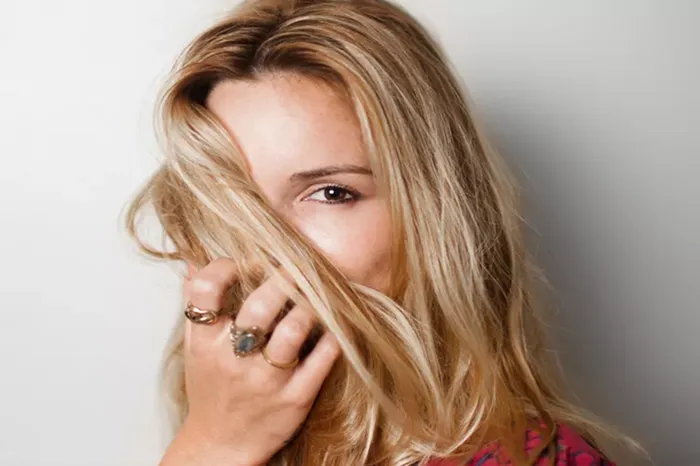
Bleaching your hair can transform your look, but it requires careful preparation and the right tools. Whether you’re a DIY enthusiast or considering a salon visit, understanding the process is crucial.
This guide breaks down everything you need to bleach your hair at home, including product recommendations, step-by-step instructions, and safety tips. Let’s dive in!
Understanding Hair Bleaching
Bleaching is a chemical process that strips your hair of its natural pigment, lightening it to a pale yellow or white base. This allows you to dye your hair vibrant colors or achieve a platinum blonde look. However, bleach is harsh and can damage hair if used incorrectly. Knowing how it works helps you make informed decisions.
How Bleach Works
- Hair color comes from melanin, a pigment in the hair shaft.
- Bleach (a mix of powder and developer) penetrates the hair cuticle, breaks down melanin, and lifts color.
- The strength of the developer (volume) determines how light your hair gets.
Hair Structure Basics
- Cuticle: The outer layer that protects the hair. Bleach must open this layer to work.
- Cortex: The middle layer holding melanin and moisture. Over-bleaching weakens this layer.
- Medulla: The innermost layer (not always present).
Essential Materials for Bleaching
To bleach your hair safely, you’ll need the following items:
Hair Bleach Powder
What It Does: Activates when mixed with developer to lift pigment.
Types:
- Blue-Based Bleach: Neutralizes orange tones (ideal for dark hair).
- White-Based Bleach: General use for light to medium hair.
Popular Brands: Look for products labeled “gentle” or “low-dust” to reduce irritation.
Developer (Peroxide)
What It Does: Determines the strength of the bleach. Higher volumes lift more color but cause more damage.
Volumes Explained:
- 10 Volume (3%): Subtle lightening, safe for sensitive scalps.
- 20 Volume (6%): Medium lightening (1-2 shades).
- 30 Volume (9%): Significant lightening (3-4 shades).
- 40 Volume (12%): Extreme lifting (not recommended for beginners).
Tip: Use 20–30 volume for most at-home jobs. Avoid 40 volume on scalp.
Mixing Tools
- Non-Metal Bowl: Plastic or glass to avoid chemical reactions.
- Applicator Brush: For precise application.
- Tint Brush: Helps distribute bleach evenly.
Protective Gear
- Gloves: Nitrile or latex to protect hands from burns.
- Old Towels/Clothes: Bleach stains fabrics permanently.
- Petroleum Jelly: Apply to hairline/ears to shield skin.
Toner
- What It Does: Neutralizes brassy yellow/orange tones post-bleaching.
- Types:
- Purple Toner: Cancels yellow tones.
- Blue Toner: Neutralizes orange tones.
- Popular Options: Wella Color Charm, Fanola No Yellow.
Aftercare Products
- Purple Shampoo: Maintains cool tones between bleaches.
- Deep Conditioner: Repairs moisture lost during bleaching.
- Heat Protectant: Protects fragile hair from styling tools.
Step-by-Step Bleaching Process
Prep Your Hair
- Don’t Wash Hair: Natural oils protect the scalp.
- Section Hair: Use clips to divide into 4–6 parts.
- Protect Skin: Apply petroleum jelly around hairline.
Mix Bleach
- Ratio: Follow instructions (usually 1:2 powder-to-developer).
- Consistency: Aim for a thick paste (like pancake batter).
Apply Bleach
- Start at the Ends: Older hair processes slower than roots.
- Avoid Roots Initially: Body heat speeds processing at the scalp. Apply roots last.
- Use a Mirror: Ensure even coverage.
Process Time
- Check Every 10 Minutes: Hair should turn pale yellow (not white).
- Max Time: 45 minutes (30 for fine/damaged hair).
Rinse & Tone
- Rinse with Cool Water: Stops the bleaching process.
- Apply Toner: Leave on 5–20 minutes (follow product instructions).
Aftercare
- Deep Condition: Use a protein-rich mask.
- Avoid Heat: Let hair air-dry for 48 hours.
Common Mistakes to Avoid
- Overlapping Bleach: Reapplying to already processed areas causes breakage.
- Wrong Developer Strength: High volumes fry hair; low volumes won’t lift enough.
- Skipping Toner: Leaves hair brassy and uneven.
- Ignoring Aftercare: Leads to dryness and breakage.
Safety Tips
- Patch Test: Check for allergies 24 hours before.
- Ventilation: Avoid inhaling fumes in small spaces.
- Strand Test: Bleach a small section to gauge results.
When to Go to a Professional
- Severe Damage: If hair is already dry or broken.
- Complex Color Goals: Pastels or multiple shades require expertise.
- Scalp Sensitivity: Professionals use techniques to minimize irritation.
Conclusion
Bleaching your hair at home is possible with the right tools and knowledge. Always prioritize hair health, follow instructions carefully, and don’t rush the process. When in doubt, consult a stylist. With proper care, you can achieve stunning, salon-worthy results safely!
Related topics:
Can Bleaching Your Hair Make You Go Bald?
The Art of Safe Hair Bleaching: Your Comprehensive Guide
10 Best Shampoos for Bleached Hair


